
Into the dark
Setting up a small darkroom space at home

Back in early 2022, someone very kindly gave me a B&W 35mm enlarger. Before that it had lived, along with some other B&W and colour enlargers, in a community darkroom down here in Folkestone, which sadly shut its doors in the summer of 2021 after just under a year of being open.
It was a fantastic space with a gallery area upstairs and a large darkroom in the basement. I had been to look round and have a tour of the darkroom set up earlier that year, but because of the pandemic and the latest of the lockdowns here in the UK, I unfortunately never got the chance to make use of it myself before it closed.
But I was always extremely grateful to inherit the enlarger, and at that point I was very keen to give it a new life in a darkroom space here in our home. Guided by memories of seeing my Dad make prints when I was younger, a lot of reading and watching youtube videos, it became the enlarger that I used to teach myself how to print the traditional way with light and chemicals.
It is a Meopta Axomat 5a, Czech made and built like a tank, it’s a fantastic bit of kit, one that I would definitely recommend for learning, and one that I have used here ever since. It needed a little clean up as it had been in garage storage for a few months, but it didn’t need anything other than that. They also gave me a Nikkor 50mm f2.8 lens to go with it, and a good stash of other darkroom gear that was no longer needed, including 8”x10” trays, tongs, a focus finder, a red Paterson safelight, an easel mask and even some chemicals that hadn’t even been opened.
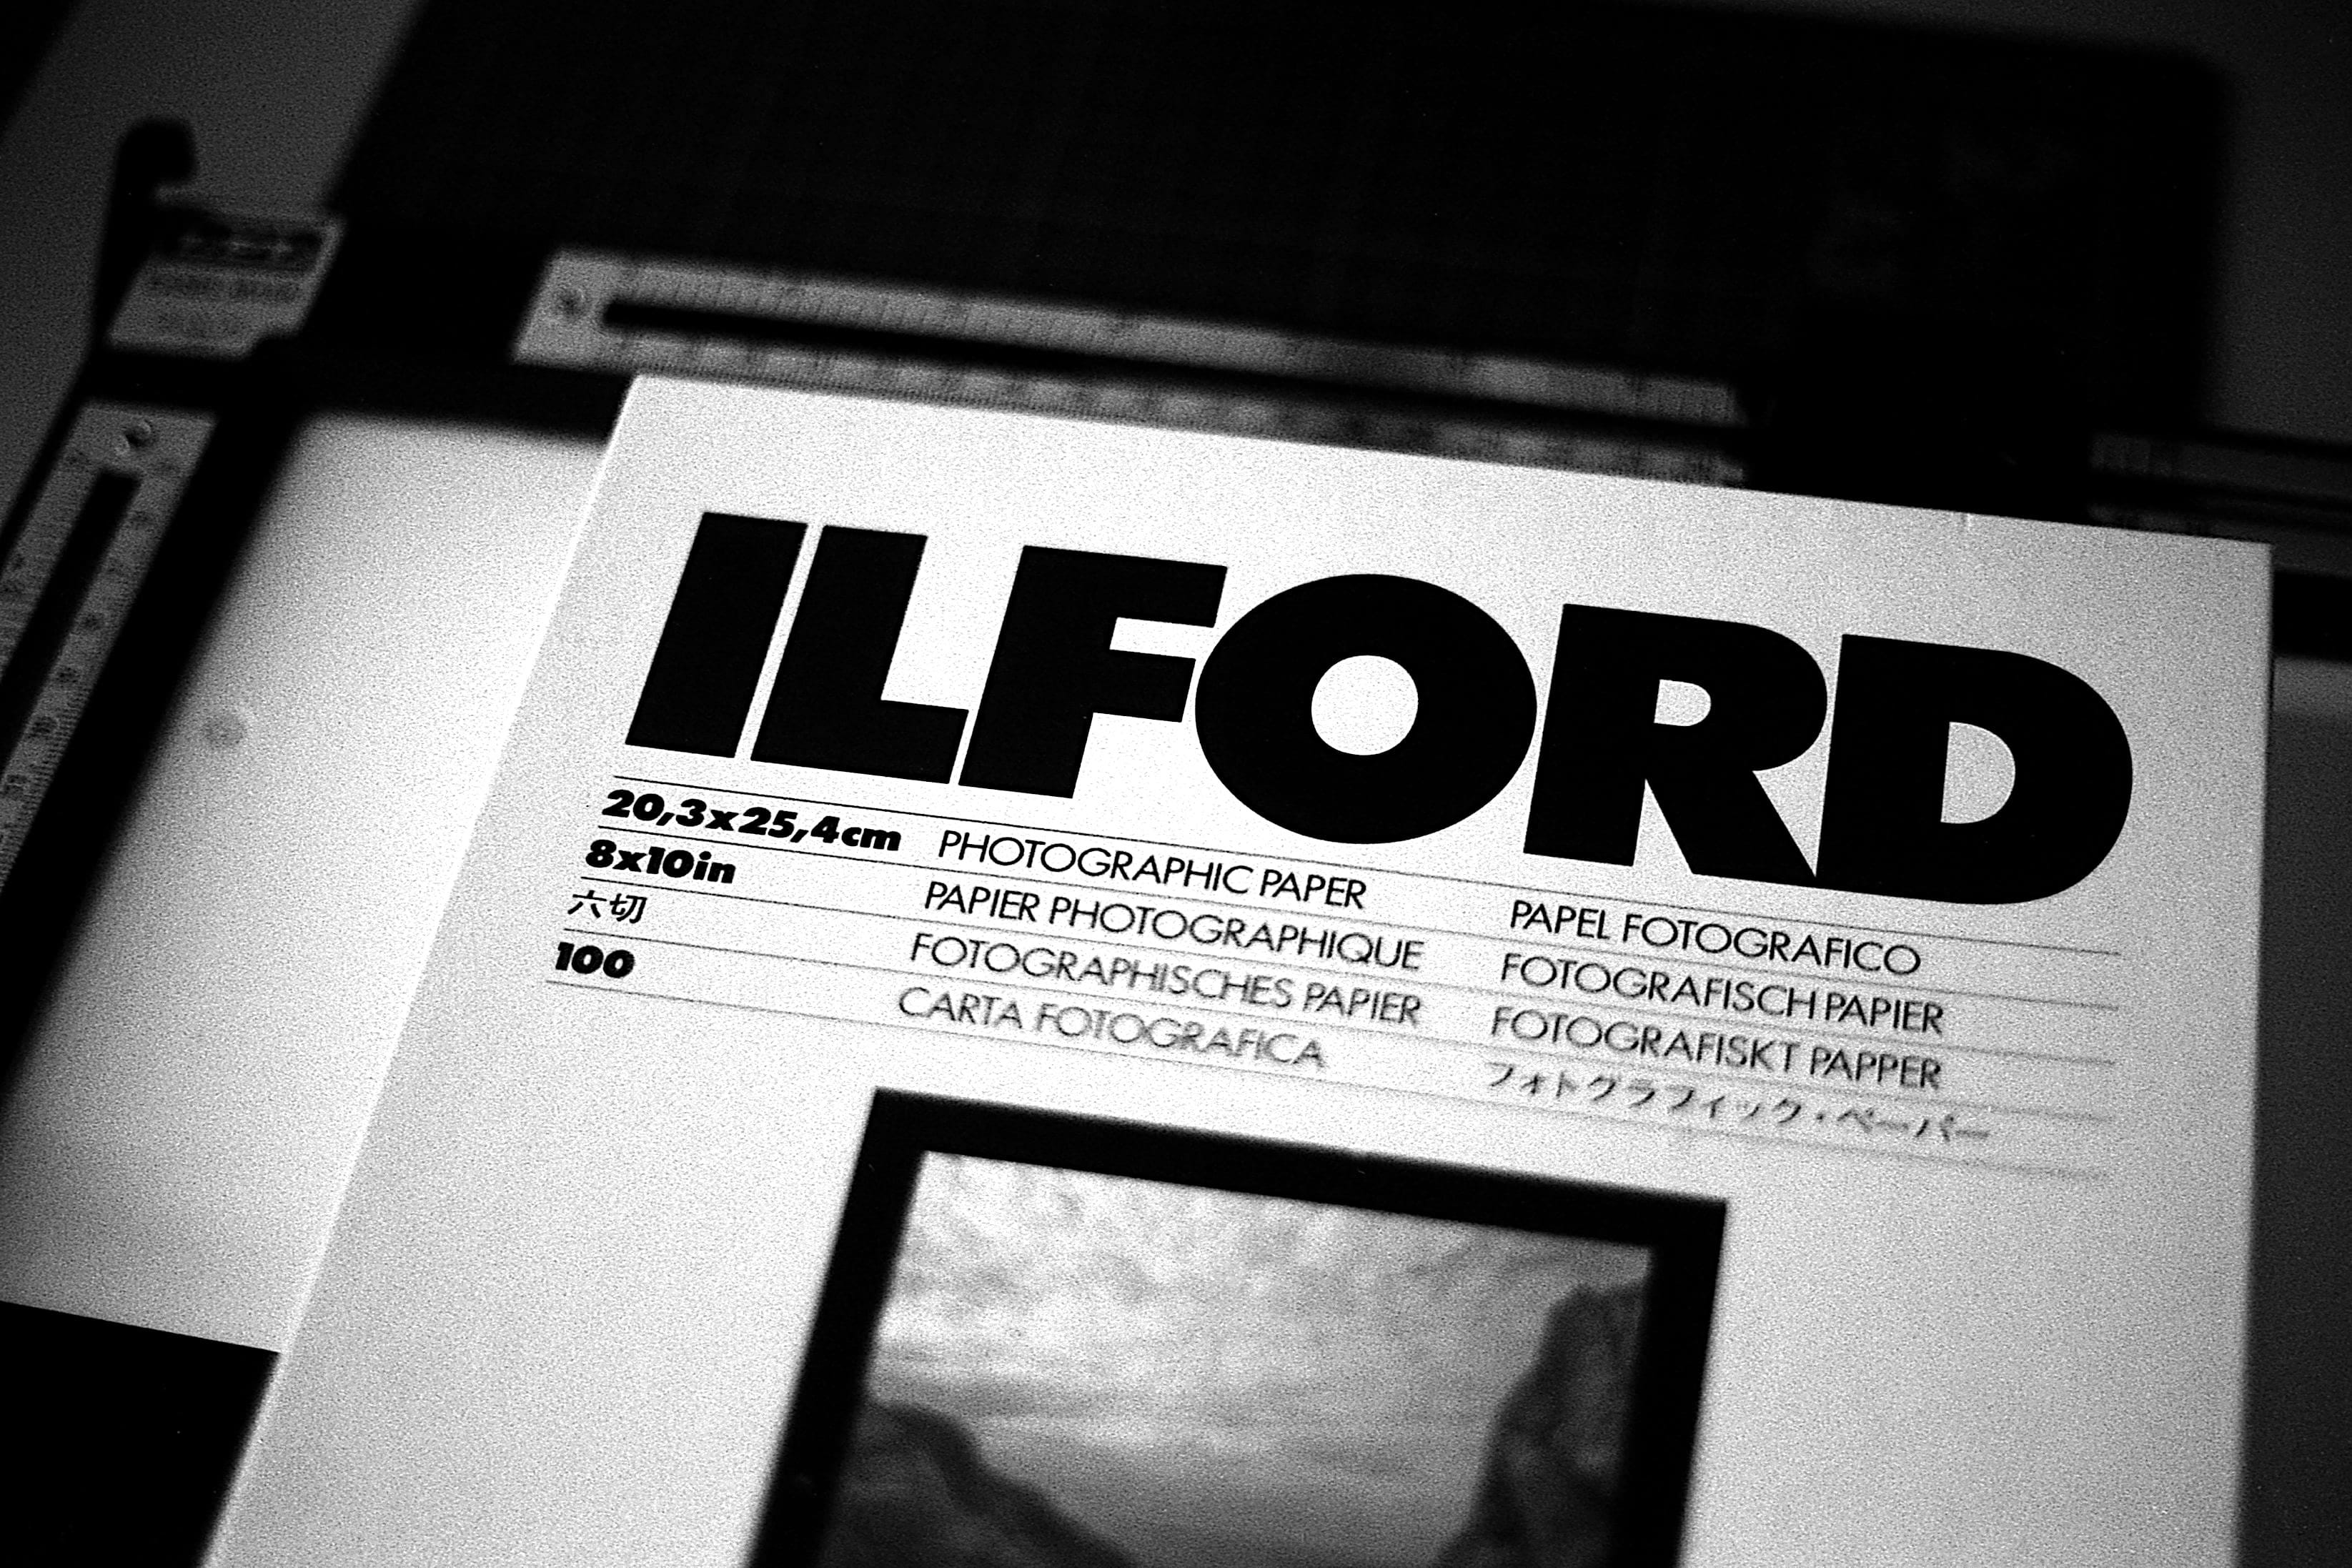
I just needed to source a few other things. So I found a Baeuerle enlarger timer on eBay and sorted out the wiring for that as well as swapping the UK plug that was on the enlarger back to the Euro 2-pin plug to fit in the timer. I bought set of Ilford Multigrade filter gels and trimmed them to fit in the filter tray of this enlarger, and a new box of Ilford Multigrade paper.
Along with the gear I had already for developing at home (timer, measuring jugs, thermometer etc.) I had everything I needed.
There is only one room in our house that was suitable for me to consider as a darkroom and it is a small office room upstairs. It’s about 8ft x 5ft, similar size to an average garden shed, so it’s quite cosy, even for just one person, but it is conveniently located right next to the bathroom, so running water is close by.
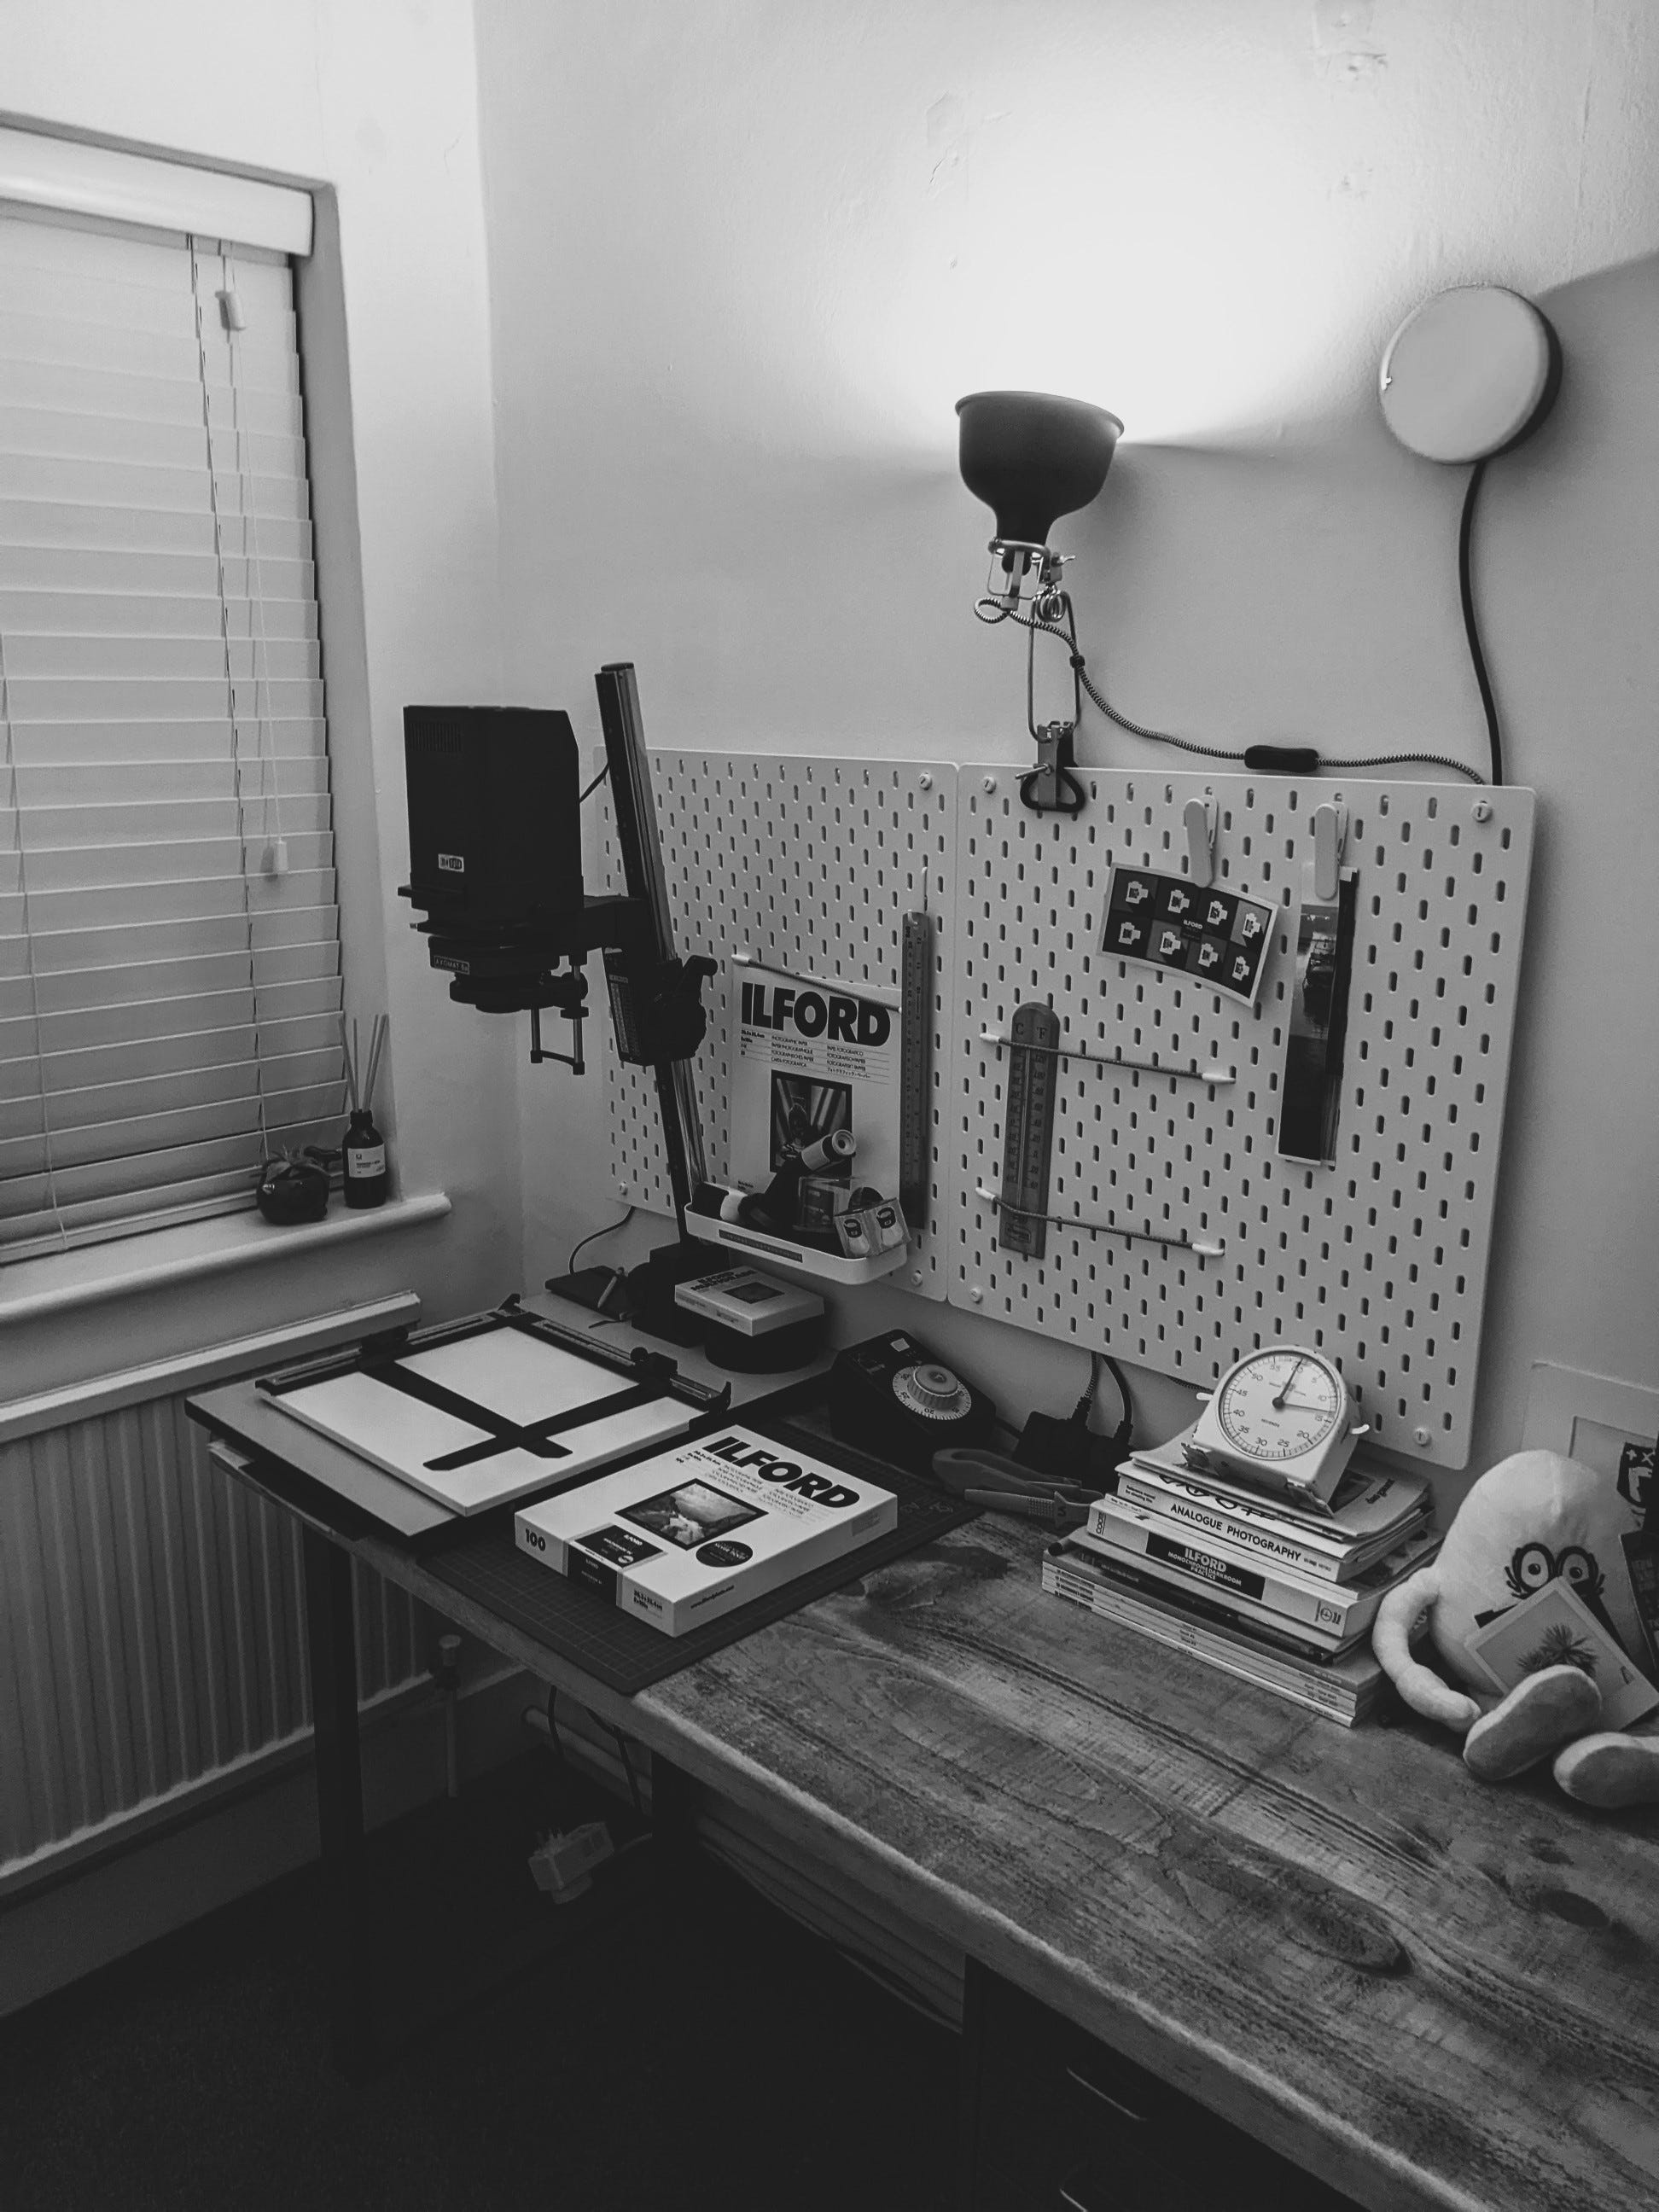
We already had a long desk in there, the length of the room, with my work computer set up at one end. My wife had previously used that end of the room for making sea glass jewellery so there was already an Ikea peg board on the wall with trays and clips etc. She very kindly agreed to me clearing away her tools and equipment to make space to put the enlarger, something else in this story that I am very grateful for.
I got the enlarger set up there, and luckily the baseboard and column fit perfectly on the depth of the desk so I didn’t need to change the way it was mounted. Then I organised the timer next to the enlarger with the wiring behind the pegboard and put the red safelight up on the wall above in the middle of the wall.
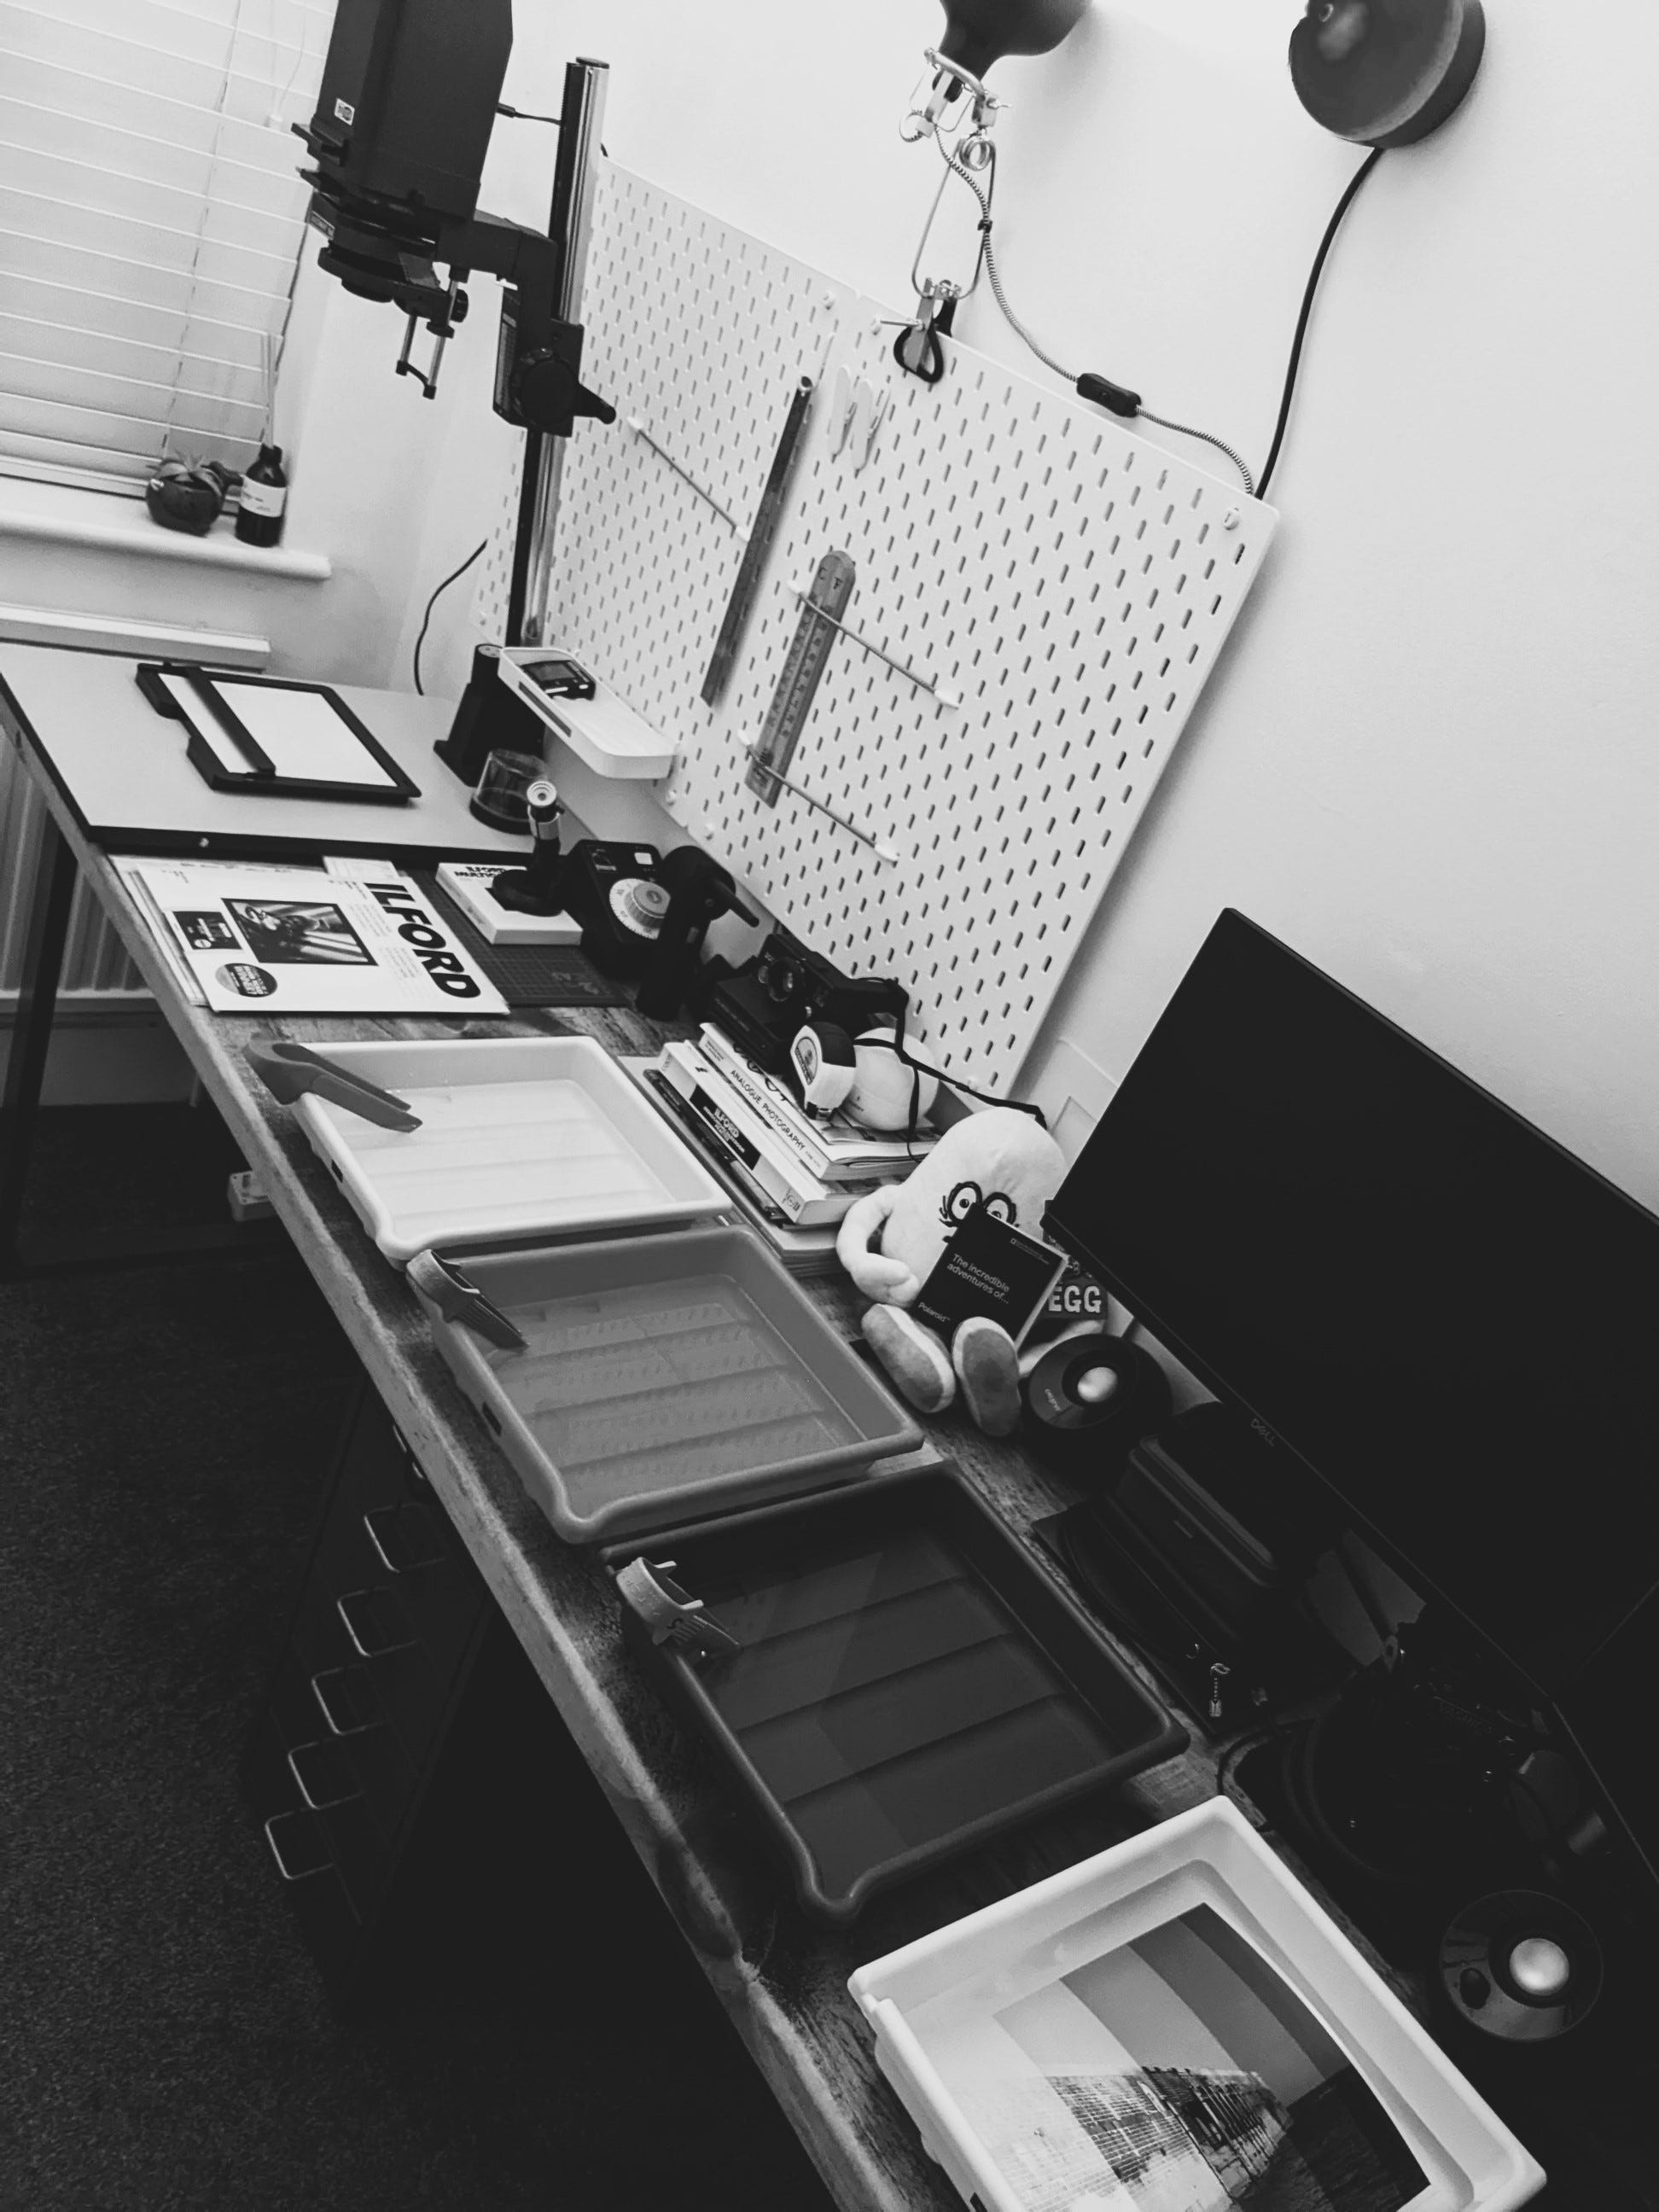
It turned out that with my work laptop and keyboard moved, the desk was perfect to fit four 8”x10” trays, one for Developer, one for Stop bath, one for Fixer and one with just clean water for holding prints for a short while before taking them through to the bathroom for a proper wash, for which the bath tub works well.
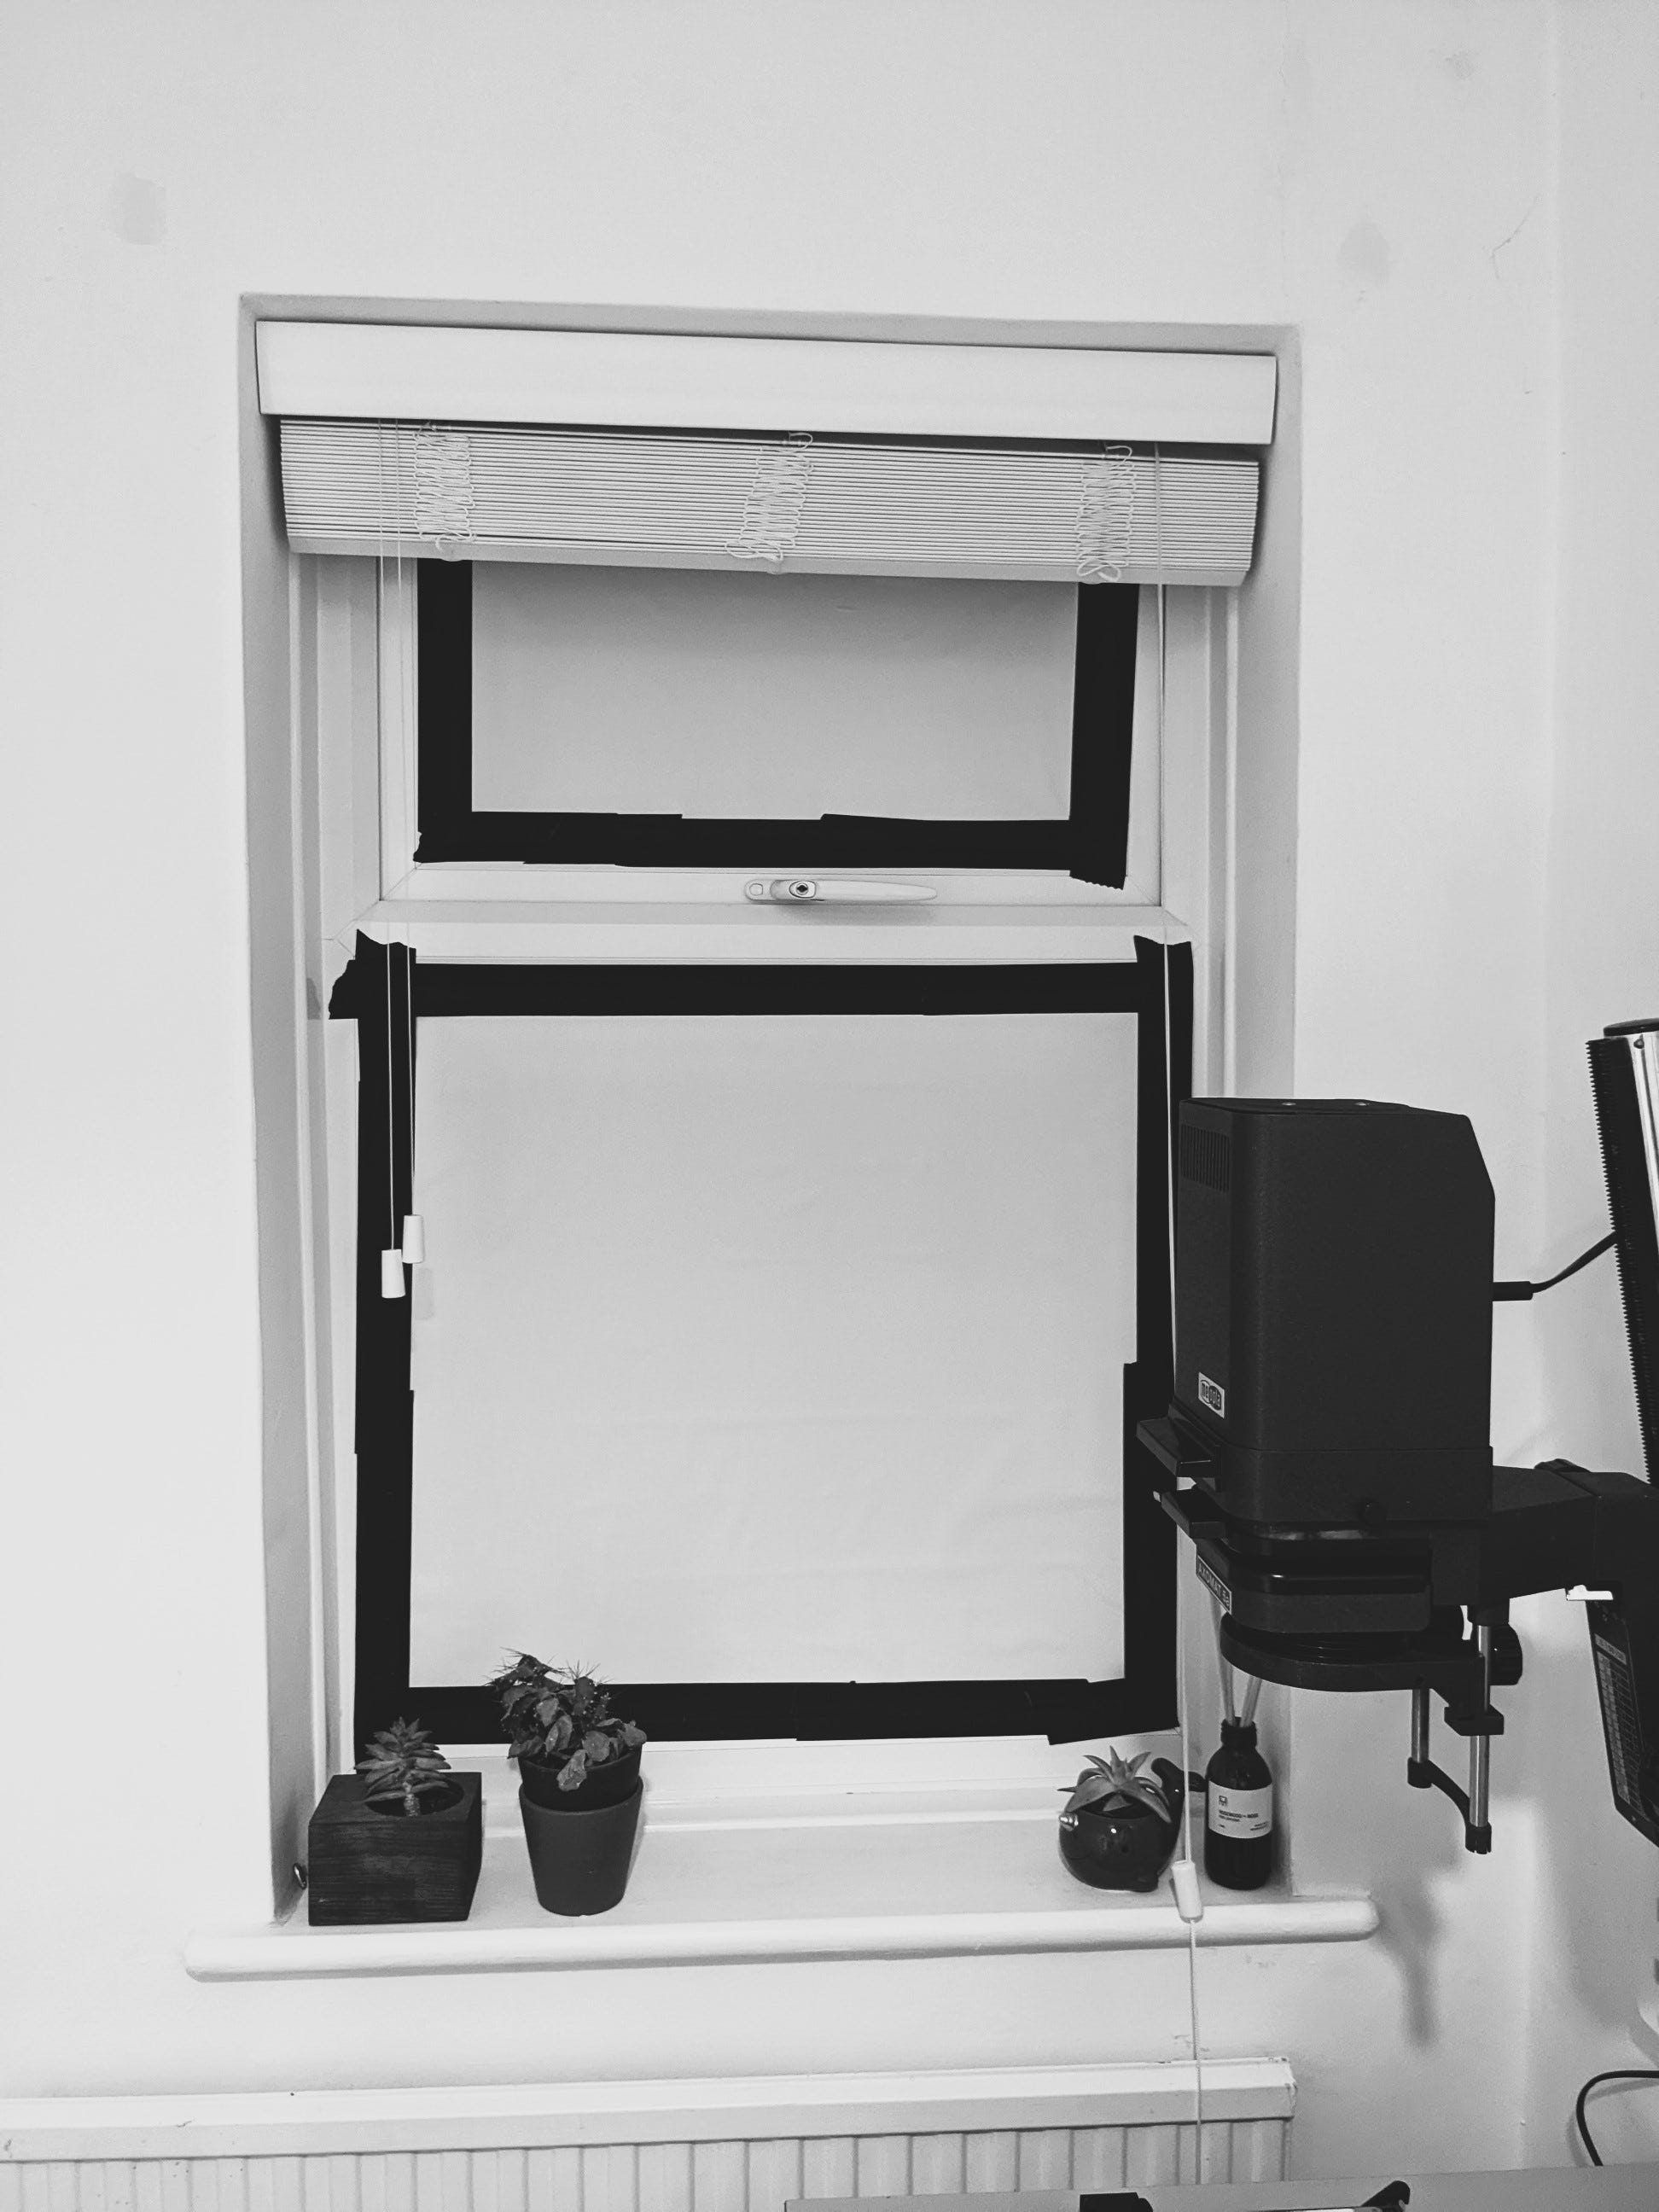
The one remaining hurdle was being able to back out the window. Luckily only one of them to contend with but of course as an office room too it needed something that could be easily put up when I wanted to make prints and just as easily taken down gain after. I found some cheap plastic blackout material online and ordered a roll to try. The window opens at the top so I cut two pieces of the plastic to fit the two panes of glass with a bit of an overlap at the edges. It sticks on the glass just with static and it worked fairly well but it didn’t stay up for too long and it wasn’t totally light tight at the edges. To fix this I bought some decent black masking tape, so that I could quickly tape down the edges of the plastic. That worked perfectly, totally blocked out any light and very quick to remove.
And that was everything sorted! A small but functional darkroom at home!
So I spent time in there over the following months making my first B&W prints at home, one of which is in the picture below, sat in water in the fourth tray. The test strip for that print can be seen in the water tray in an earlier picture.
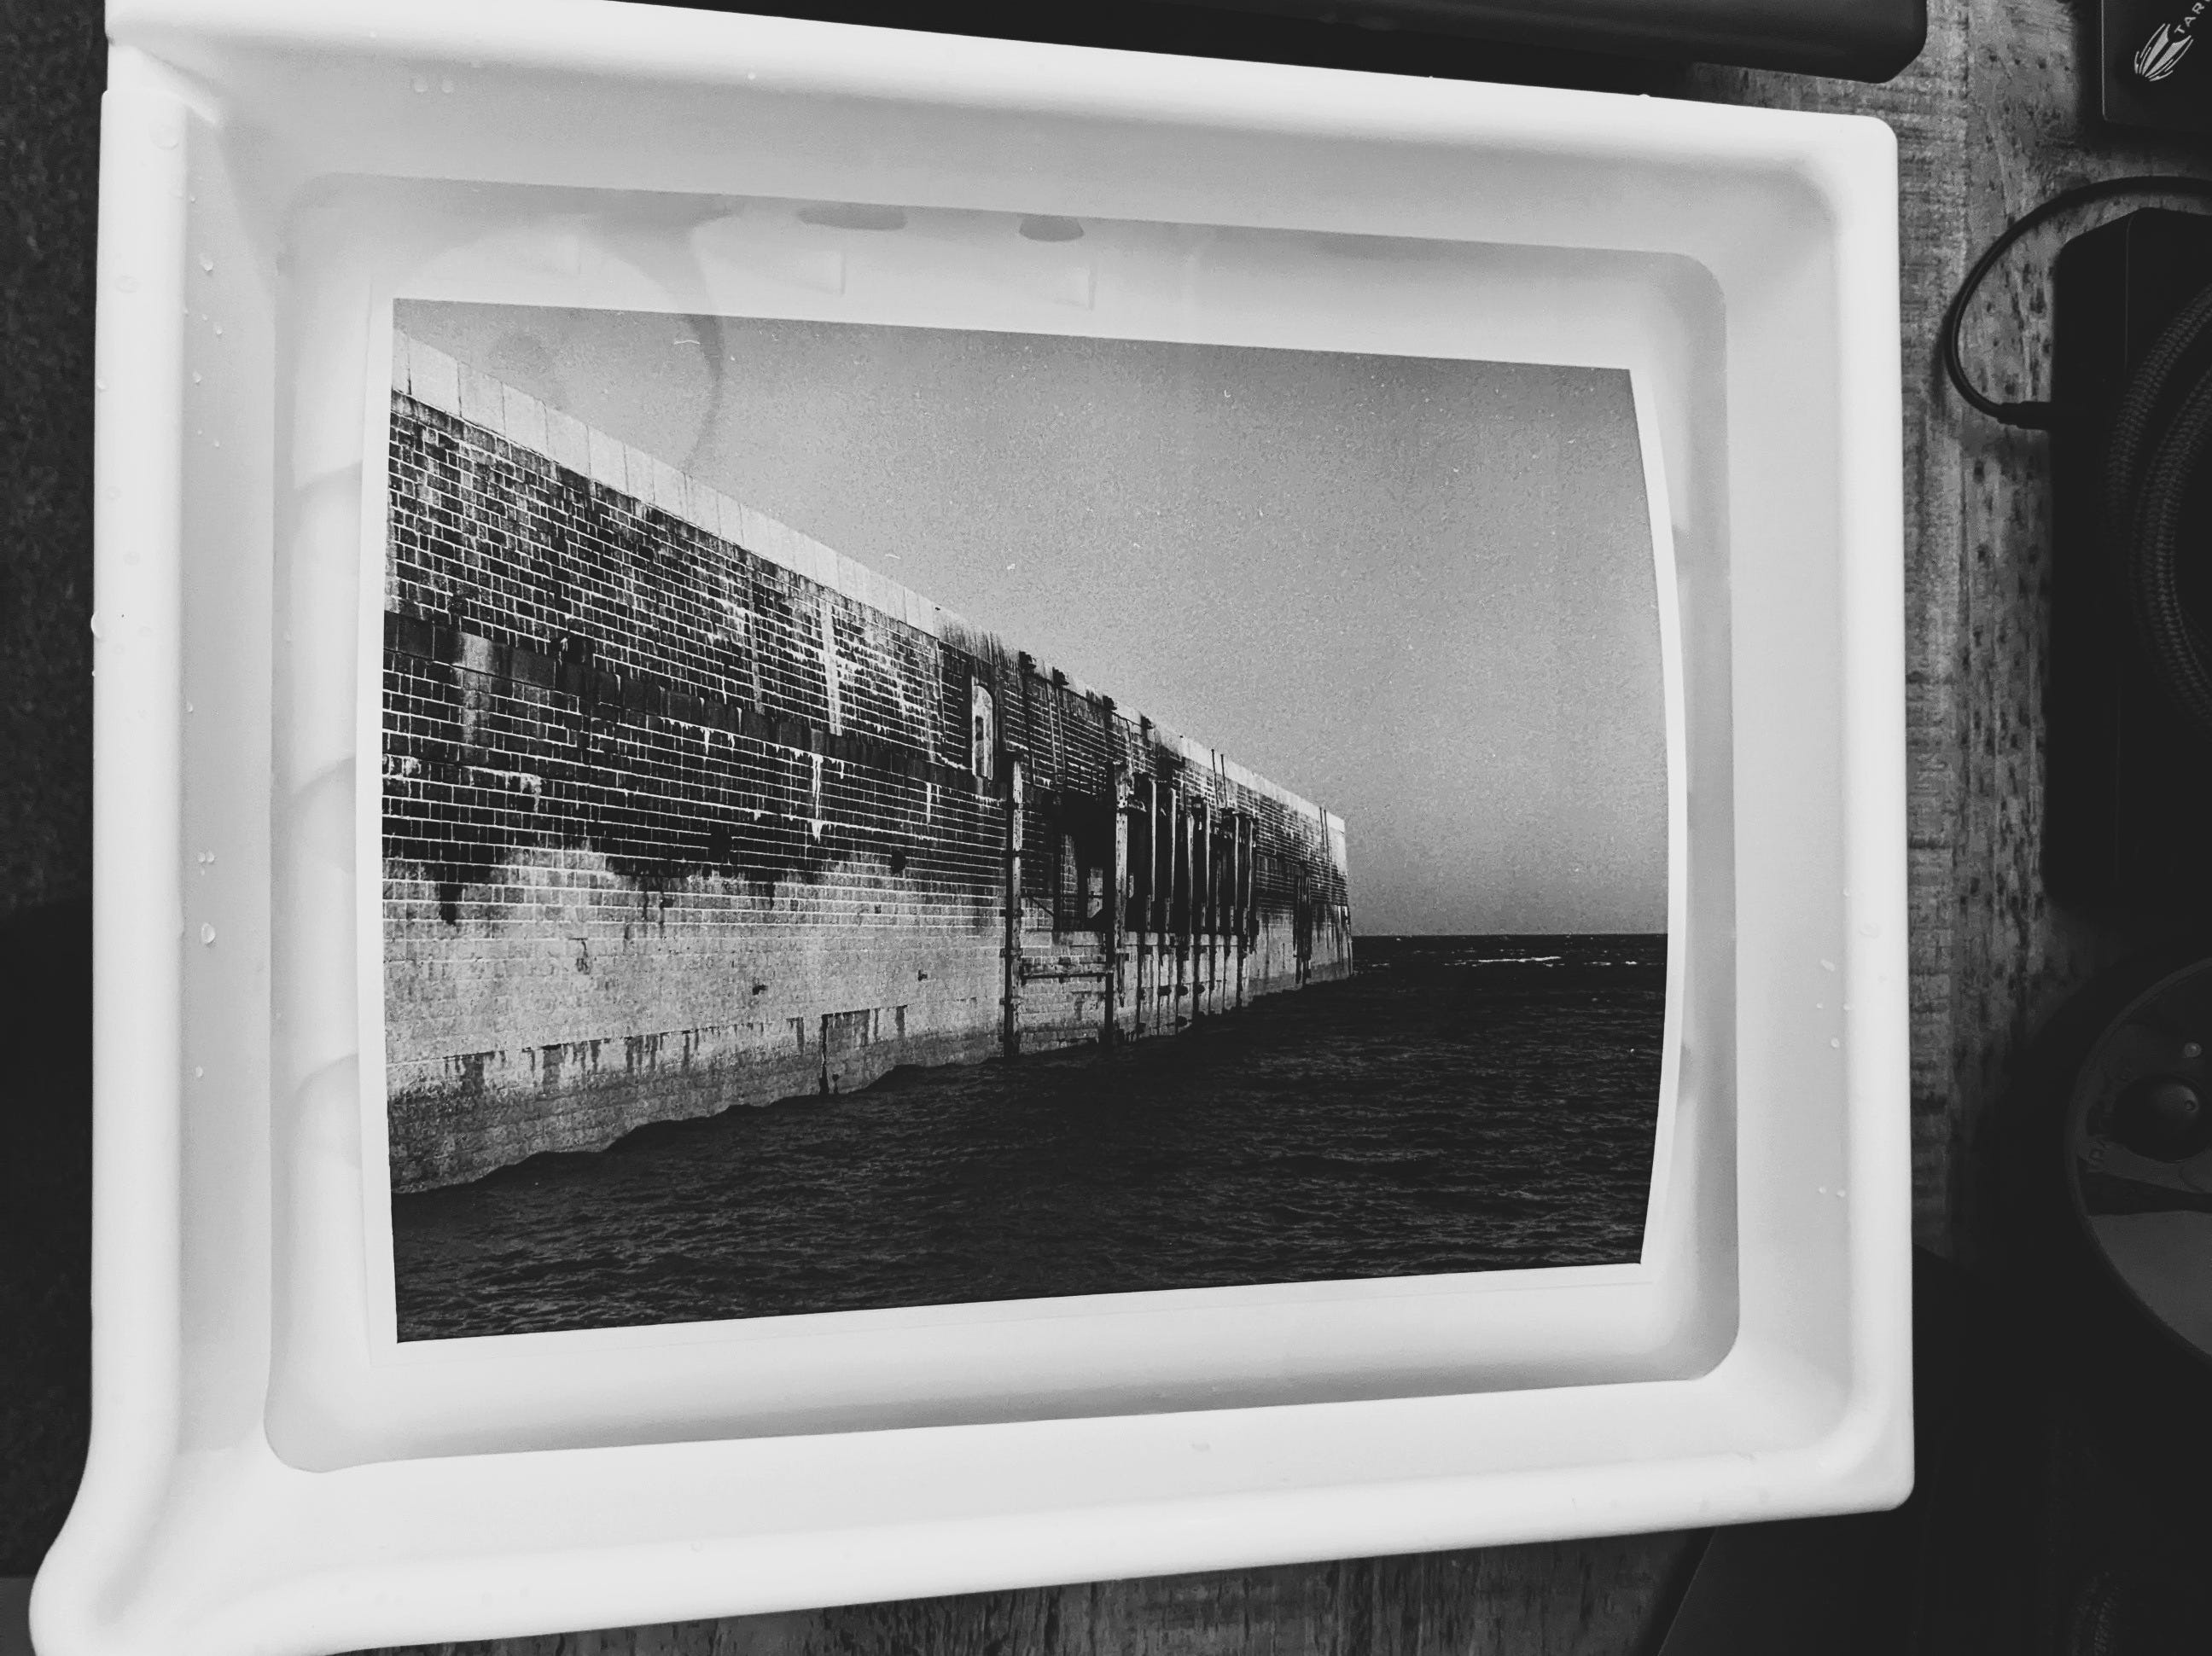
It took me a bit of time to get used to the small space. Working at the enlarger end of the room was straightforward but I had to be very careful with the trays of chemicals as there wasn’t a lot of room around or behind them. Had a couple of spillages as I got used to it but nothing too serious, and I realised it was handy to have a couple of old tea towels under the trays and a spare one to hand incase I did knock something in the dark.
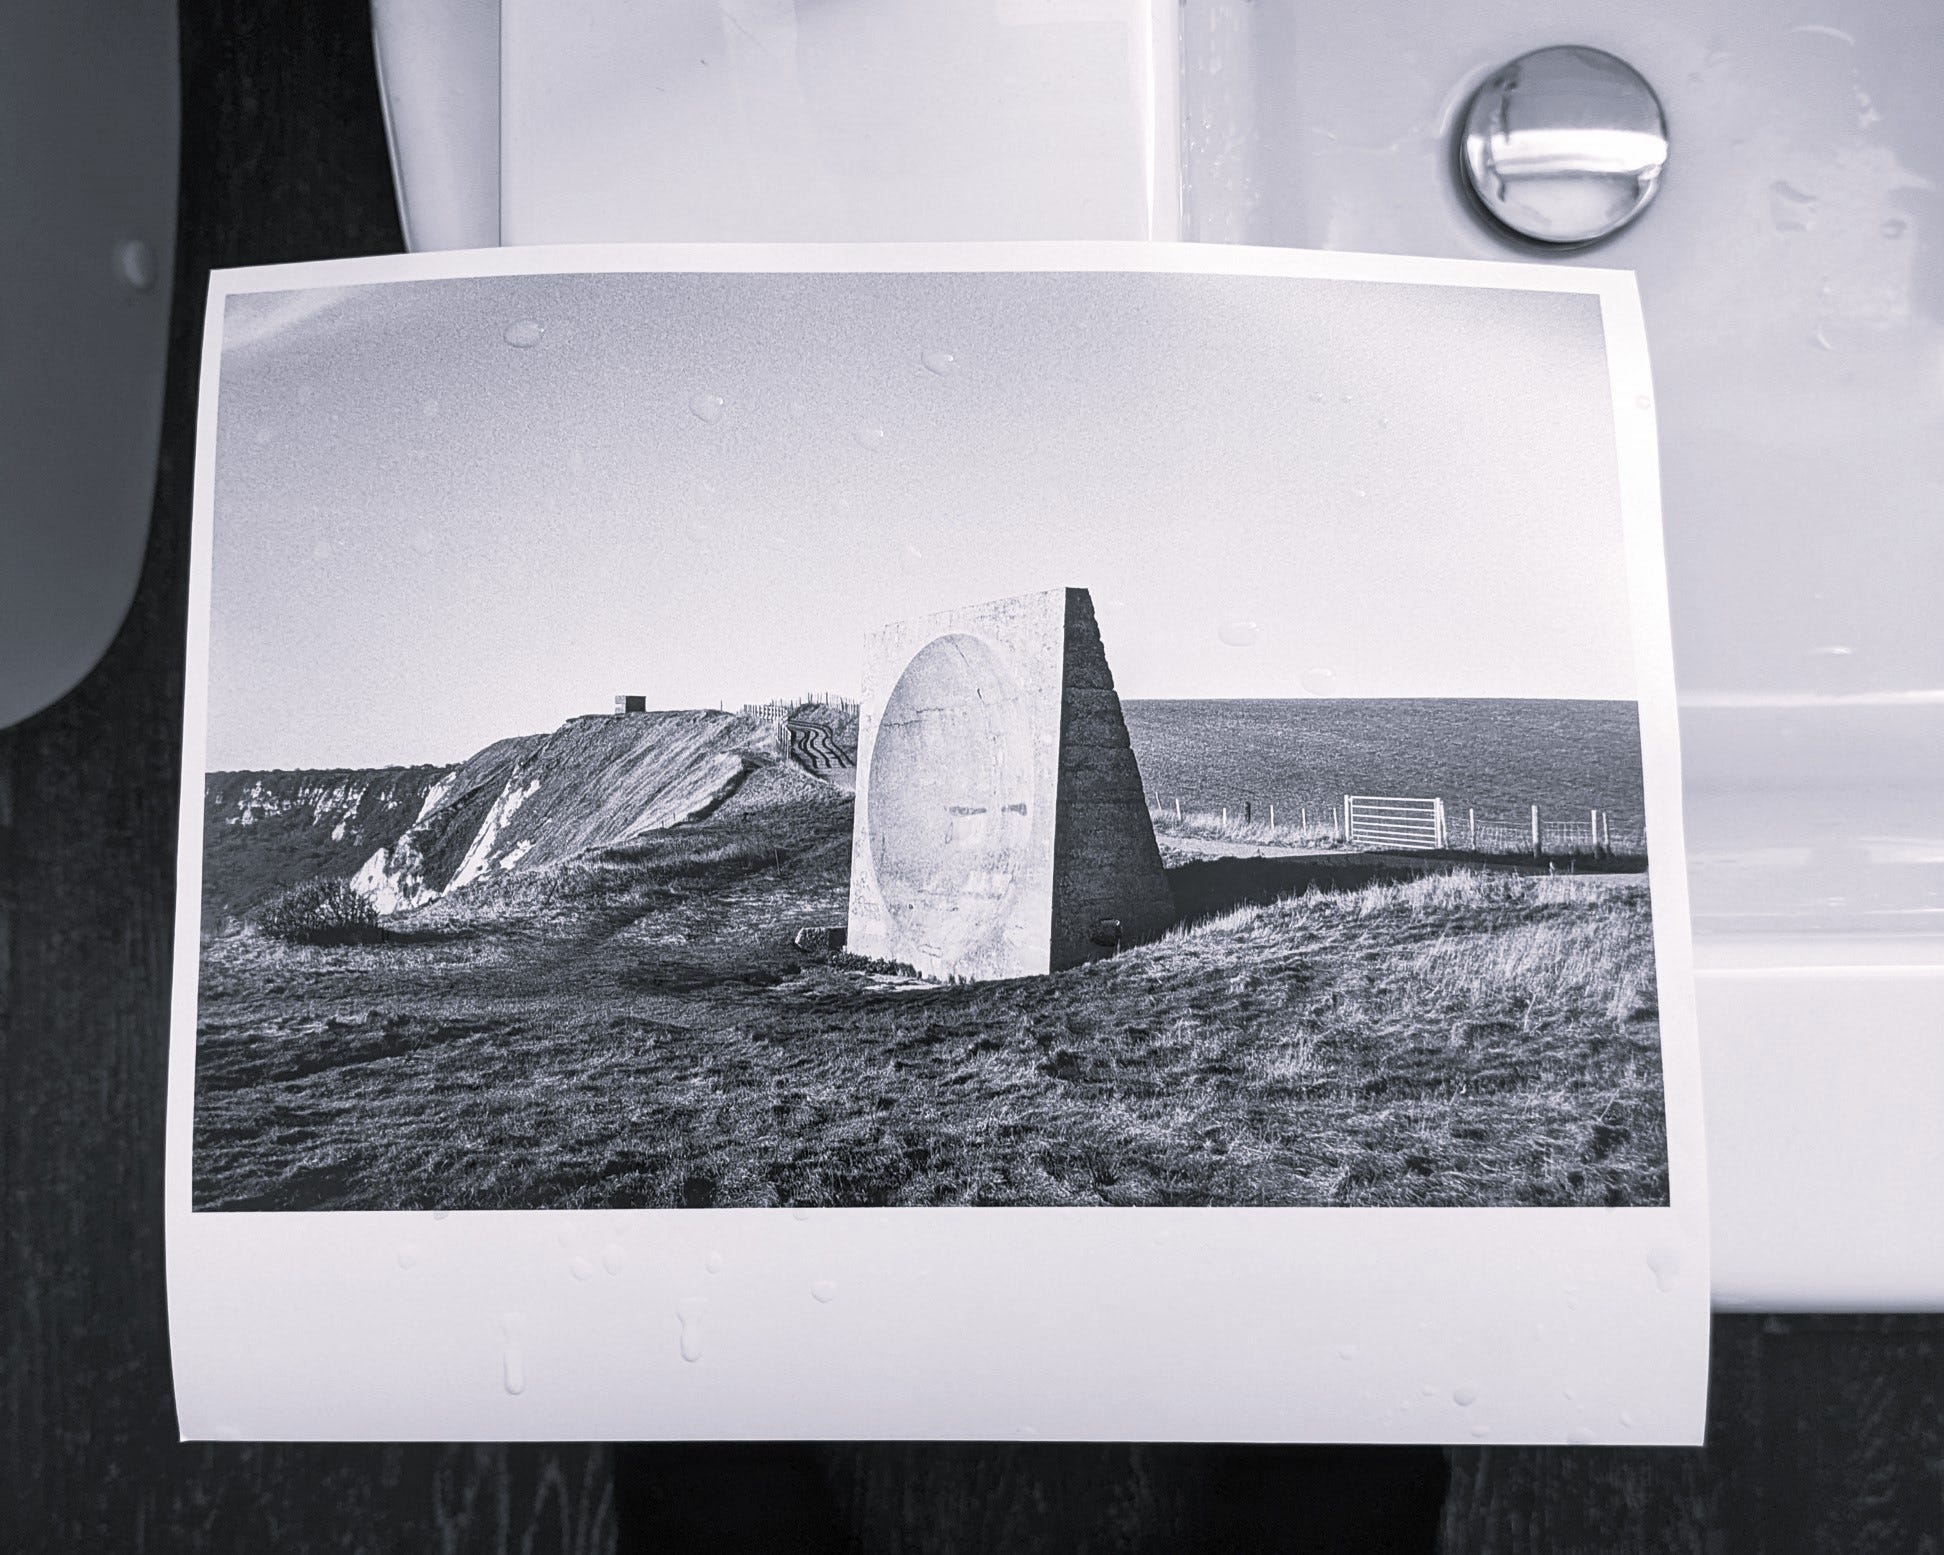
Fast forward to the very end of 2022, having shut myself away in the dark to practise B&W printing as much as time allowed during the year around work and family life, I made the prints for the Sound Mirror project here at home. One of which is below, sat on the side of our bath tub, all washed ready to be dried.
Since then I have continued to use the space when time allows and it’s something that I thoroughly enjoy doing. I know I still have a lot to learn, but I’m happy to be making prints of the photos I have taken locally, and I’m glad that the enlarger is being put to good use.
Admittedly as I write this post it has been a few months since I made any prints at home. I’ve generally been a bit behind with photography stuff, struggling to find time outside of work etc. but very keen to get back to it very soon. I have a stack of about 15 rolls of film to catch up on developing so hopefully there will be some good shots in there that are worth printing. Watch this space…
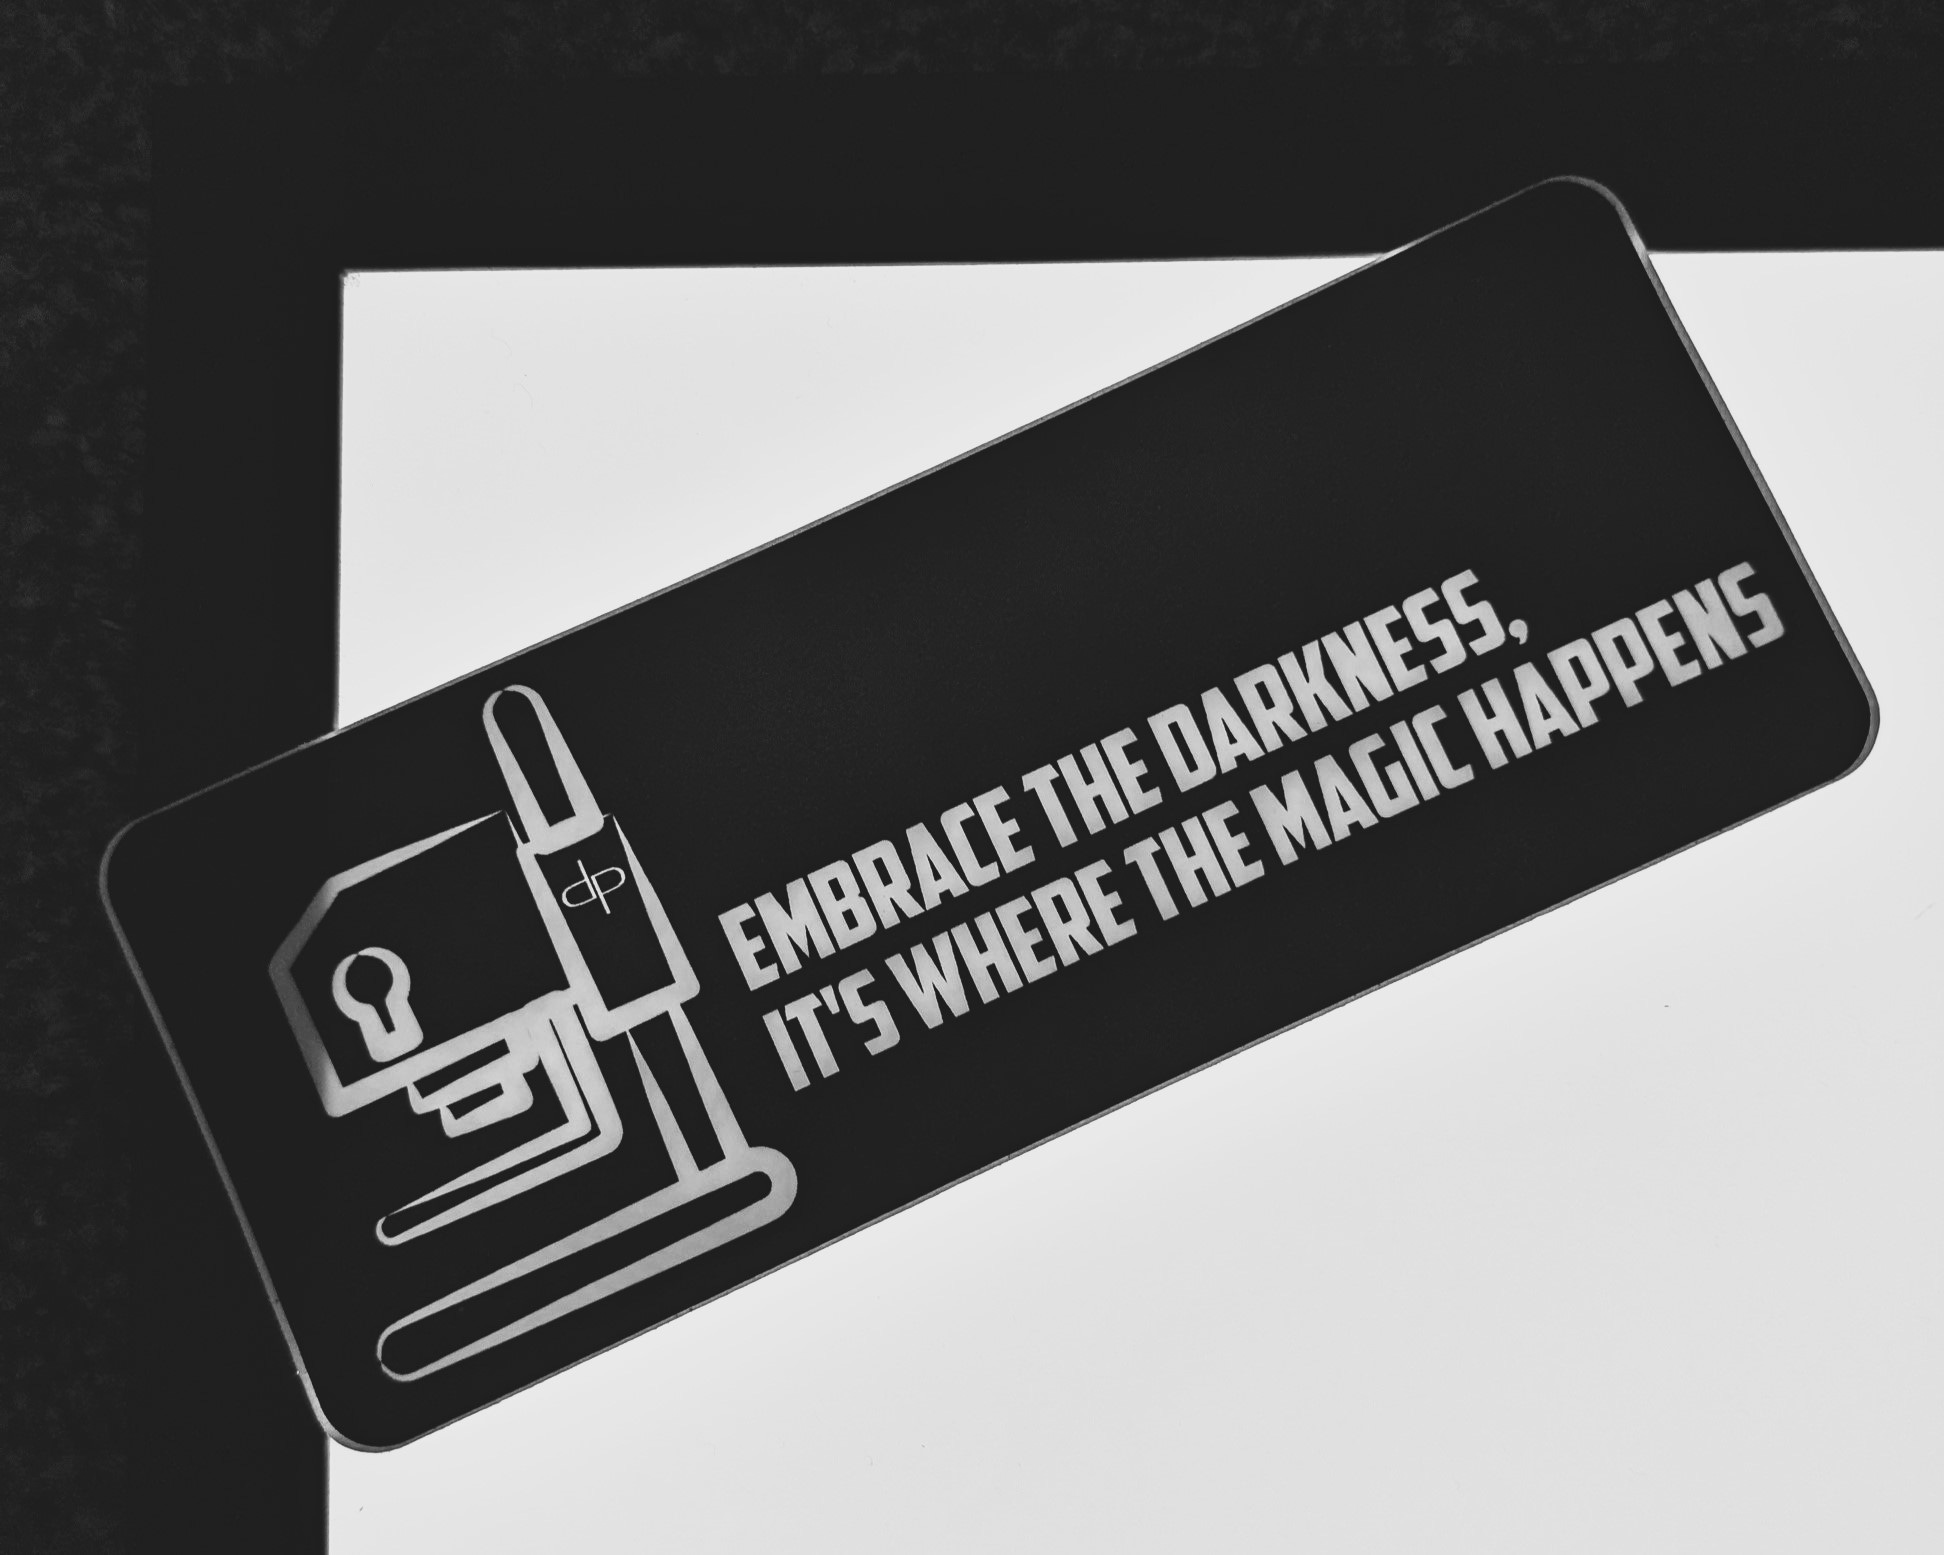
Just want to sign off with this picture below. I recently bought a 3D printed test strip printer from Dist Photo in the US, which allows you to easily print a test strip of the same part of an image for comparison instead of across different parts of the image and it arrived with this sticker which I absolutely loved!
Darkroom printing is such an incredibly fun and magical process to witness, and one that’s definitely worth trying out yourself at home as a logical step on from developing B&W film.
Thanks so much for reading this one. Remember even in a small space it’s very possible to set up a darkroom space that works, and I wanted to share some images of my darkroom space where I have been making prints.
Drop me a message if you have done anything similar, I’d love to see some photos of anyone’s home darkroom setups…
Brilliant! Great prints too
Great read my good man!